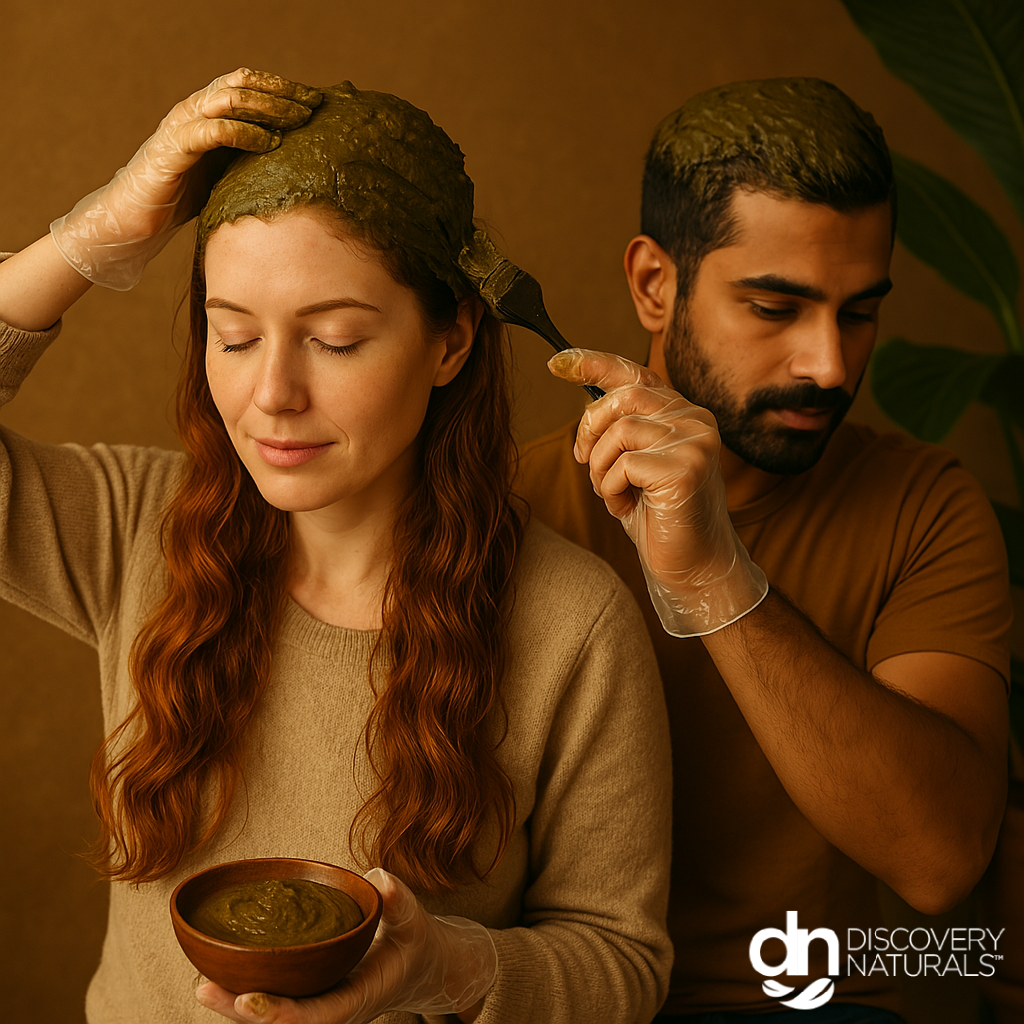
Applying natural hair dye—especially henna—doesn’t have to be intimidating. In fact, once you understand the process, it becomes a relaxing, rewarding self-care ritual. Whether you’re coloring your hair for the first time or switching from synthetic dyes, this step-by-step guide will walk you through everything you need to know to achieve even, long-lasting, chemical-free color with Discovery Naturals.
Looking for the full overview? Start with our Ultimate Guide to Natural Hair & Beard Dye.

Step 1: Prepare Your Hair for Color
Before you even open the dye kit, prep is everything.
Start with Clean Hair
Make sure your hair is freshly washed and free of oils, conditioners, and styling products. Use a gentle clarifying shampoo if needed to remove any build-up that may block the dye from bonding. Dry It Completely
Henna adheres best to dry hair. Pat it dry with a towel after washing and let it air-dry before applying the dye.
Step 2: Mix the Henna Paste for Maximum Color
Henna works through a process called dye release, which requires time and the right environment.
Mixing Instructions:
-
In a non-metallic bowl, pour the desired amount of Discovery Naturals Henna Powder.
-
Slowly add warm (not boiling) water and stir until you reach a yogurt-like consistency.
-
Cover the bowl and let the mixture sit for 30 to 60 minutes to activate the natural dye.
Want vibrant, long-lasting results? Don’t skip the activation time—it’s crucial for proper color bonding.
Optional Additions:
-
Add a few drops of lemon juice to enhance red tones
-
Add essential oils (like lavender or eucalyptus) for a spa-like experience
Step 3: Protect Your Skin and Set Up
What You’ll Need:
-
Gloves
-
Old towel or cape
-
Petroleum jelly or balm (to line your hairline and ears)
-
Applicator brush or your gloved hands
-
Shower cap or plastic wrap
Create a dye-safe space—henna stains easily!

Step 4: Apply the Henna Paste
Section Your Hair
Divide your hair into 4-6 sections depending on thickness. This helps ensure even coverage and keeps hair manageable.
Apply Root to Tip
Start at the roots and work your way down to the ends. Apply the paste thickly and thoroughly to each section, ensuring no strands are missed.
Have thick or textured hair? Apply in smaller sections and use more product.
Once fully applied, pile your hair on top of your head and wrap it with plastic wrap or a shower cap.
Step 5: Wait It Out
Let the henna paste sit for 1 to 3 hours, depending on how rich you want the color:
-
1 hour: Subtle tint and light conditioning
-
2 hours: Moderate color and shine
-
3+ hours: Deep, rich color saturation
Keep warm during this time. You can even wrap a towel around your head to retain heat and boost dye absorption.
Step 6: Rinse Gently (No Shampoo!)
Once the time is up, rinse the henna out thoroughly with lukewarm water only. Avoid using shampoo for at least 24 hours so the color can continue developing naturally.
Post-Rinse Tips:
-
Use a wide-tooth comb to help remove any remaining bits
-
Follow up with a natural conditioner to help detangle and lock in shine
Want to keep that color glowing? Read: Maintaining & Prolonging Henna Hair Color
Additional Tips for Best Results
-
Do a strand test beforehand to preview color results
-
Apply to dry, clean hair for optimal bonding
-
Store unused mixed henna in the freezer for future touch-ups
Natural hair dye is more than just color—it’s care. When you use Discovery Naturals, you’re giving your hair the love it deserves with rich, plant-based pigments that nourish while they color. With this easy step-by-step method, you’ll get salon-quality results from the comfort of your home—no harsh chemicals required.
Ready for the next step? Explore our complete line of Natural Hair Dyes and find your perfect shade.

